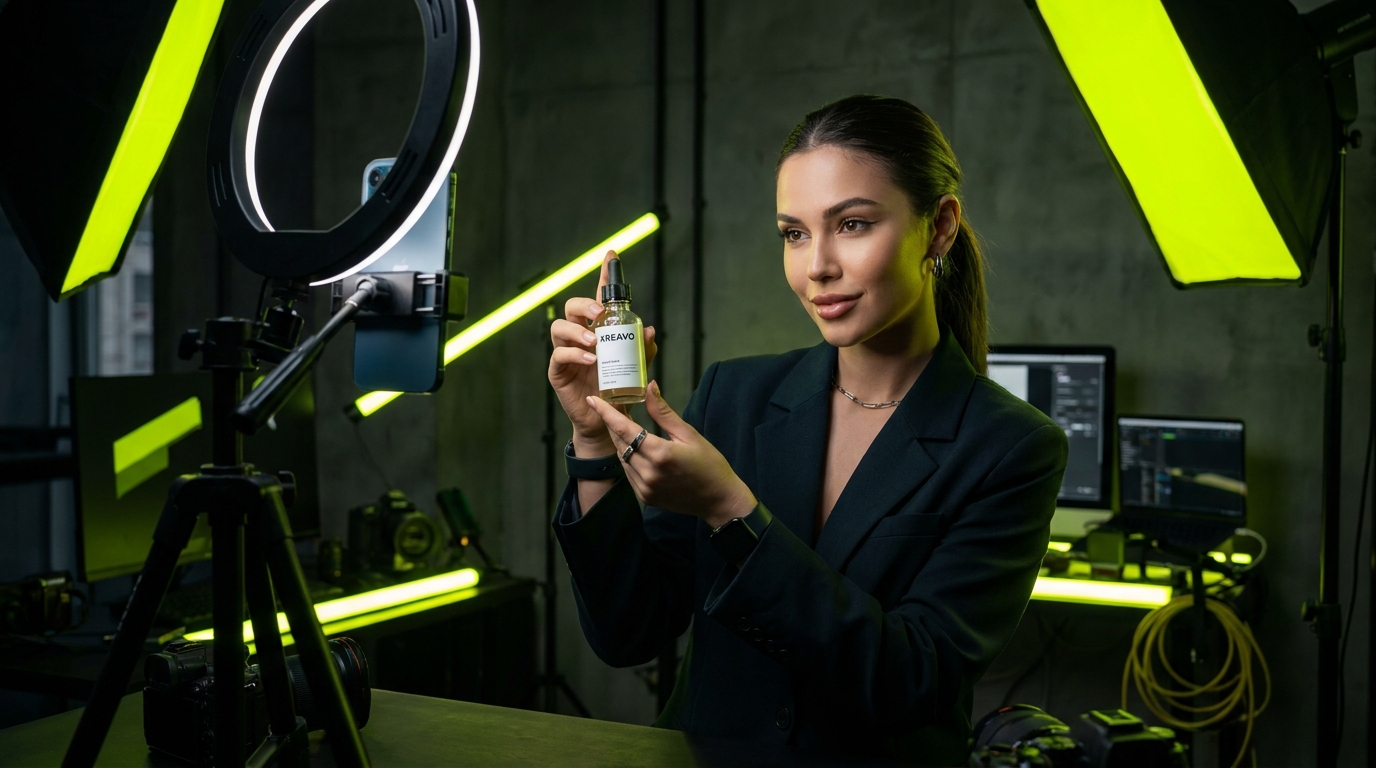
Running UGC ads used to be a production problem: find creators, ship product, wait a week, hope one of three videos works. AI UGC turns it into a testing problem. When a video costs $1 to $5 and generates in minutes, the question is no longer "can we afford another creative" but "what should we test next." This playbook covers how to run AI UGC ads on TikTok and Meta, from the first batch to the iteration loop.
Before you start: what you need
- One AI influencer with a consistent face (ready-made or custom), so your ads look like they come from the same person.
- Clean images of your real product, which gets composited faithfully into each scene.
- A working ad account with the pixel or conversion tracking already firing, so you can judge videos on results, not views.
- A short list of angles: the problems your product solves, the objections buyers raise, and the moments where it gets used.
- A naming convention for creatives (angle, hook, length, scene) so you can read results later.
Step 1: Batch 10 to 20 variations
Do not launch one AI UGC video and judge the channel on it. Launch a batch of ten to twenty variations: enough for the ad platform to find differences, small enough to review in an afternoon. Build it from one script body with different hooks, and keep the structure deliberate.
- Write one 15 to 30 second script: hook, context, demonstration, close.
- Generate 8 to 12 hook variations on that body with the same AI influencer and the same product placement.
- Add a few structural variants: a shorter cut, a different scene (desk, kitchen, outdoors), a version with the product held in hand.
- Export everything in 9:16 for TikTok, Reels, and Stories, and keep a 16:9 export for YouTube or landing pages.
- Name each file with its variables before uploading so the reporting stays readable.
Step 2: Change one variable at a time
You cannot learn from a video that changed five things at once. If variant B has a new hook, scene, influencer, and length and beats variant A, you still do not know why. Isolate variables so each round produces a usable conclusion.
- Round 1: same body, different hooks. Learn which opening line holds attention.
- Round 2: winning hook, different scenes and product placements. Learn which context sells.
- Round 3: winning hook and scene, different lengths and closes. Learn how much time the ad needs.
- Round 4: winning creative, second AI influencer. Learn whether the face matters for your audience.
Step 3: Set kill and scale rules before launch
Decide how you will judge creatives before you see the numbers, or you will keep the ones you like instead of the ones that work. Exact thresholds depend on your margin, price point, and account history, so set them from your own data. The structure is consistent across accounts.
- Give each creative a minimum spend or impression window before judging it, so early noise does not decide the outcome.
- Kill creatives that fall clearly below your account's usual cost per result once they have had that window.
- Watch early signals such as hook retention and click-through rate to prune faster.
- Scale the winners gradually by raising budget in steps or duplicating into new ad sets, rather than doubling overnight and resetting learning.
- Rotate in a fresh batch on a fixed cadence so performance decay from repetition never catches you without a replacement.
Step 4: Format for the feed
Vertical placements reward content that looks native. AI UGC gives you the creator-style look; formatting makes sure the platform and the viewer treat it as such.
- 9:16 vertical, full-screen, with the subject centered and key elements kept out of the areas covered by the interface (captions, buttons, profile name).
- A hook in the first two seconds, spoken and captioned. Most viewers start muted, and the platform's decision to keep serving your ad is made early.
- Burned-in captions in a readable size, matching the spoken words, so the message survives silence.
- Product visible early and clearly. The demonstration is where conversions come from; do not hide it behind a long intro.
- Native pacing: quick cuts, natural speech, no cinematic color grade. Posted, not produced.
- A plain close with a single action, then a hard stop.
Step 5: Disclose AI-generated content where required
Platforms increasingly expect advertisers to label AI-generated or significantly altered content, and the rules change over time. Treat disclosure as part of your setup checklist. It protects your account, and audiences respond better to transparency than to being surprised.
- Check the current AI-content labeling options in TikTok Ads Manager and Meta Ads Manager when you upload, and use them where the platform requires or recommends it.
- Keep your claims verifiable regardless of who is on screen. An AI influencer can demonstrate a product; it cannot testify to a personal result it did not have.
- Follow the same advertising standards you would with a human creator: no misleading before/after implications, no health or financial promises you cannot prove.
- Keep an internal record of which creatives are AI-generated so your team can answer platform or customer questions quickly.
Step 6: The $1 to $5 iteration loop
The advantage of AI UGC ads is not the first batch; it is the loop. With human creators every new version costs $50 to $500 and 3 to 10 days. With AI UGC, the loop is measured in minutes and single dollars, so you can run it weekly.
- Review results at the end of the judging window and sort creatives by your primary cost-per-result metric.
- Take the top two or three and write down why you think they won: the hook, the scene, the length.
- Generate a new batch that pushes on those reasons: five new hooks in the winning style, the winning hook in three new scenes, the same script on a second AI influencer.
- Retire the clear losers and launch the new batch alongside the current winners.
- Repeat. Every cycle, the account's creative pool gets sharper and the cost of a failed test stays a few dollars.
One extra lever: video editing with reference images. If a live ad is winning, swap the person or the product in that existing video instead of starting from scratch, so you keep the pacing that worked and change only the element under test.